After realizing that there is a possibility that I might have to stay in doors for a while due to COVID19, I decided that I would take the opportunity to try out knotless braids as a “Corona hairstyle”. Before I could even look for someone last week, Atlanta braider Yvonne of Sparkle Brand Braidsreached out to me so it was really perfect timing. As I was getting my hair done, I started to think about the women who like me are having to plan natural hairstyles around the situation at hand.
Seriously, there are more things that I am more concerned about than braids at the moment but since I am a natural hair influencer and enthusiast, this post aligns with my beliefs about taking care of your natural hair despite now going out and about.
There are 3 traditional natural hairstyles that will allow you to not have to make a house call to your local Atlanta hairstylist for a while.
Keep scrolling for links to easy tutorials, materials needed and timeframe expectations!
Easy Protective Styles for Natural Hair
Knotless Braids

Knotless box braids are my current hairstyle.
It was my first time trying this style and I love that it protects my natural hair and also that I don’t have to get up and do my hair before I start filming any content.
“Knotless braids are a lighter version of the box braid. It creates a healthier process because it doesn’t pull on our hair and provides less tension on the hair”, Atlanta braider Yvonne says.
I personally love that I made the choice to get them, and that I can pull them up to finish my chores around the house.

There are lots of DIY knotless braids tutorials on YouTube. Here’s one you might find helpful for beginners: DIY Knotless Braids Tutorial
Items needed:
-
1-2 Packs of Hair
-
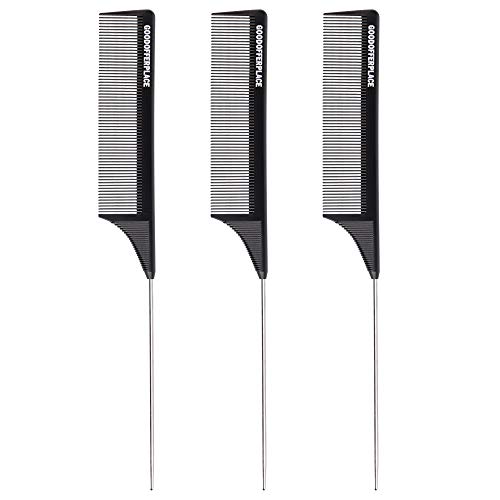
Rat Tail Comb
-
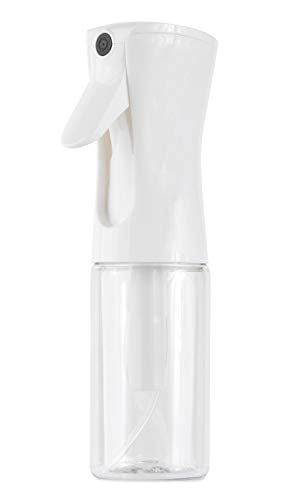
Spray Bottle with Water
-
Moisturizer and/or Light Moisturizing Hair Gel
This process will take 4-5 hours depending on the thickness and length of your braids.
Twist Out

A twist out is done on natural hair and takes minimal effort depending on how large you want to make your twist. You need to make sure that you detangle your hair and moisturize it properly. Afterward, taking two strands of your hair and twisting it will allow you to leave your twist in while around the house or and take it out when you are ready to.
See my easy tutorial blow:
This process will take 1-2 hours depending on the length of your hair and the thickness of your braids or twists.
Items Needed:
-
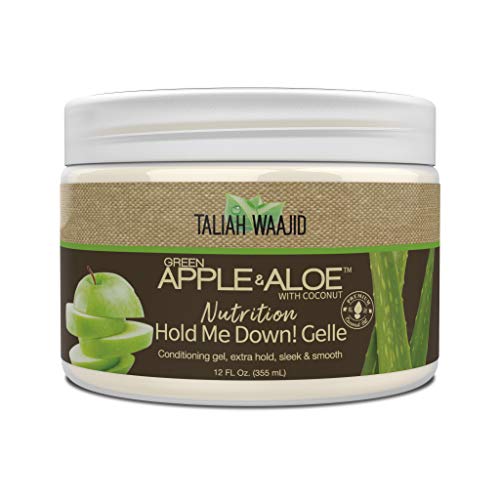
I’m using Taliah Waajid Apple & Aloe Hold Me Down Gelle which you can find on Amazon.
-
Wide Tooth Comb
-
Tangle Teezer
-
Spray Bottle with Water
-
Moisturizer
-
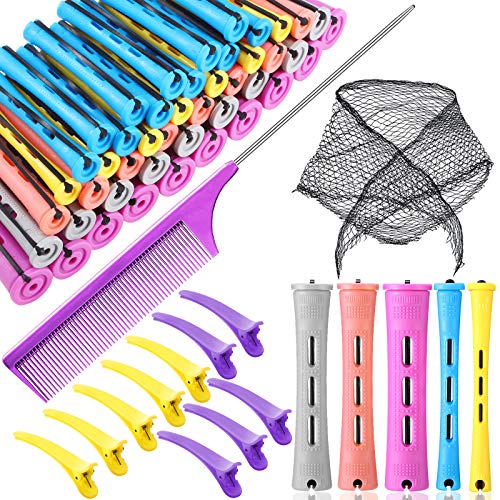
Perm Rod Set
-
Edge Control
Wash n’ Go
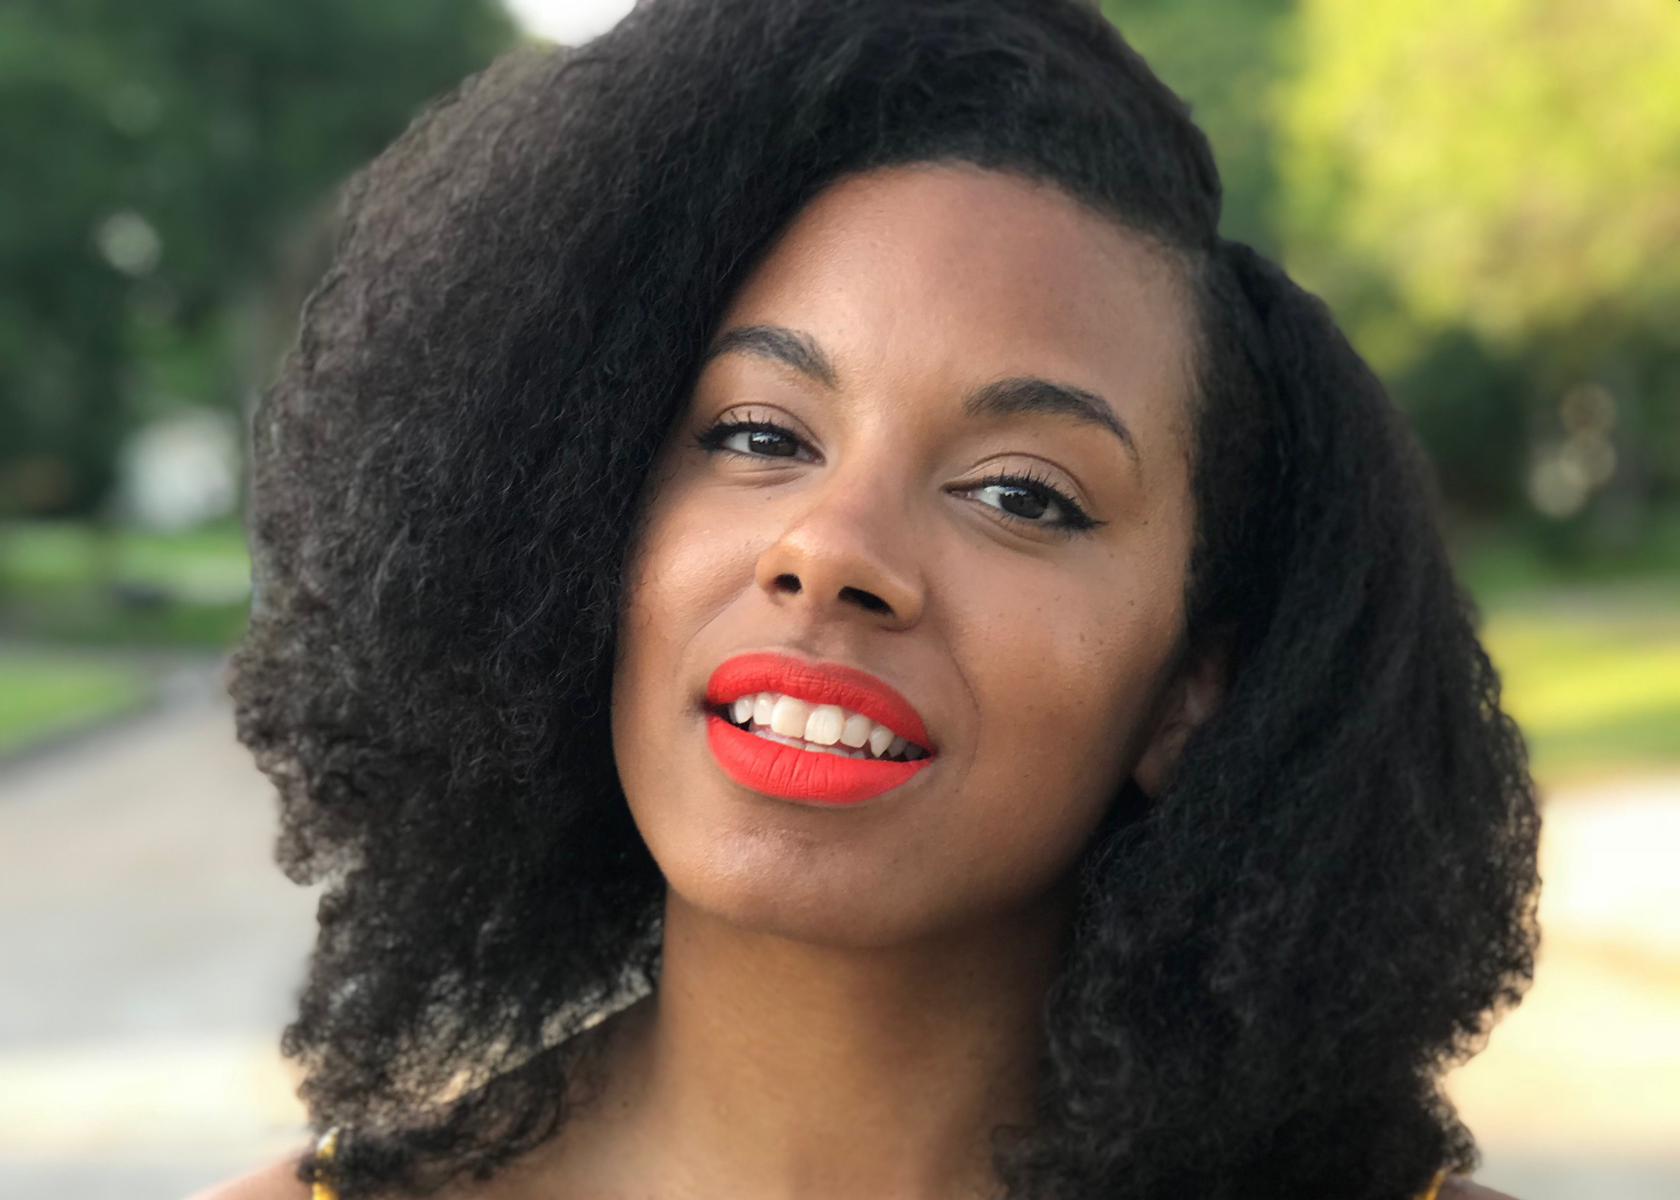
This is the easiest of the three because it’s minimal effort required. As the name implies, you simply wash your hair and go.
Although a wash and go is very simple, you need to make sure you detangle and add in your favorite moisturizer or setting lotion if you have relaxed hair! And, be sure to add a high quality hair oil to seal your ends and keep your hair strands protected.
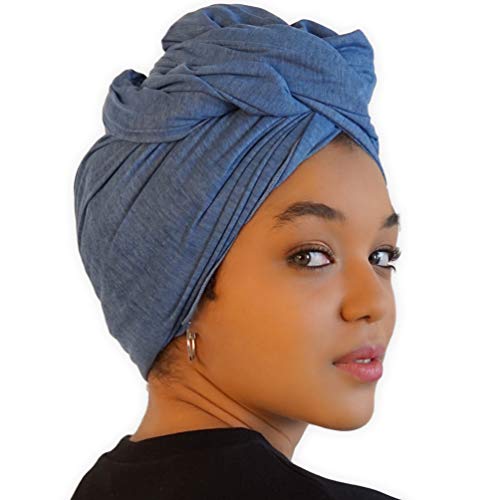
You can also add a scarf to your wash and go to make it a protective style.

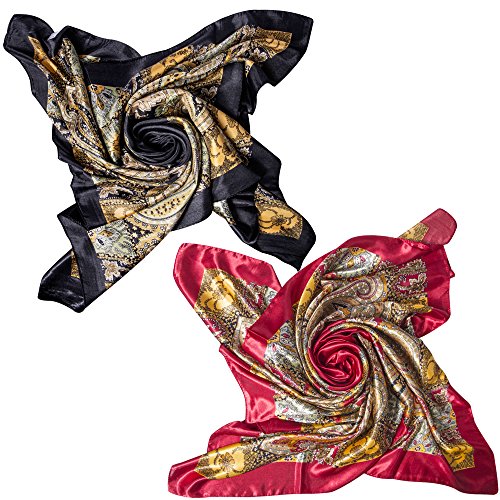
Here’s a tutorial with several different scarf hairstyles to try: Scarf Hair Wrap Tutorial
Items needed:
-
Your go to Shampoo, Conditioner, Oils and Moisturizers
-
Satin Scarf for Protection
-
Secondary Scarf for Styling
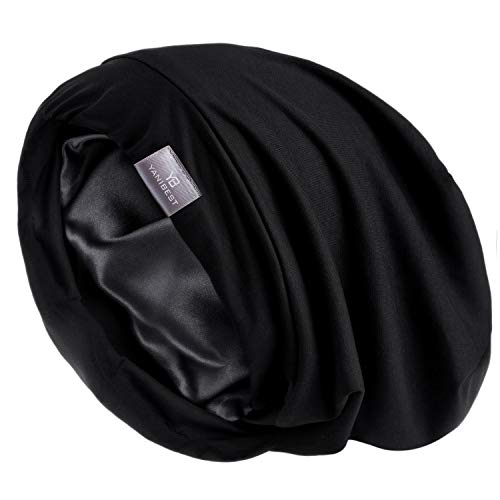
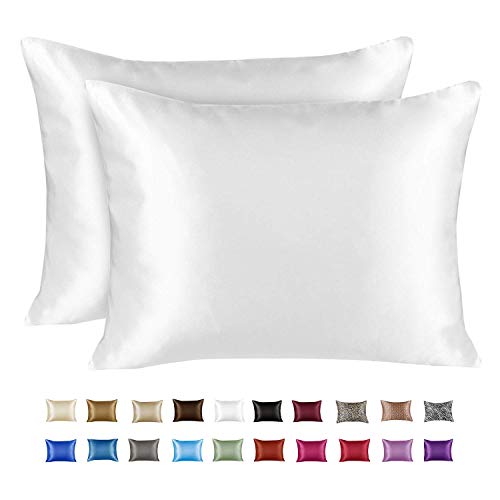
Be sure to also use a satin bonnet, scarf or pillow to keep your hair protected while you sleep!
Special thanks to @sparklebrandbraids for my braids! I love them!
How will you be wearing your hair the next few weeks? Comment Below!
